
Learn how to Make baked white chocolate cheesecake recipe perfection—dreamy, silky, and gently baked for dessert lovers who enjoy cozy weekends and special celebrations.
This beginner-friendly treat delivers a cloud-soft texture, featuring rich white chocolate, cream cheese, vanilla, and a buttery biscuit crust, all ready with simple steps and calm oven magic.
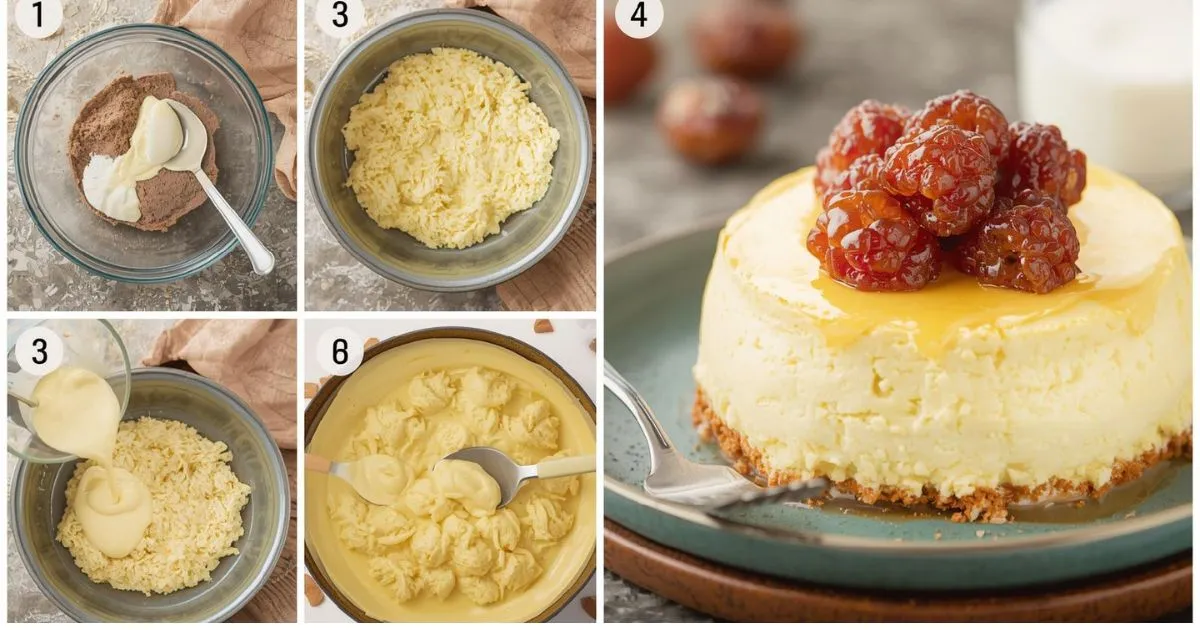
I discovered this “velvet bake” after a joyful kitchen experiment, and it’s now my go-to for holidays, birthdays, and tea parties. Full Recipe inside.
How Long Will It Take to Prepare?
Prep Time: 25 minutes
Cooking Time: 60 minutes
Cooling Time: 4 hours (plus overnight chilling)
Total Time: 5 hours 25 minutes (plus chilling)
Servings: 12 slices
Difficulty: Intermediate
Flavor Profile: Rich, creamy, sweet with elegant white chocolate notes
Perfect For: Special occasions, dinner parties, holidays, impressing your guests, or treating yourself because you deserve it!
What is Baked White Chocolate Cheesecake?
Baked white chocolate cheesecake is a luxurious dessert that combines velvety cream cheese with melted white chocolate, all baked in a buttery graham cracker crust.
The result? A smooth, decadent cheesecake with a subtle sweetness and gorgeous ivory color that melts in your mouth. Unlike no-bake versions, this one gets its signature dense yet creamy texture from a gentle baking process in a water bath.
Why You’ll Love This
- Incredibly Creamy Texture – The white chocolate creates an extra-silky filling that’s smoother than your best pickup line
- Not Too Sweet – Perfectly balanced flavor that won’t overwhelm your taste buds
- Impressive Yet Doable – Looks like you ordered it from a fancy bakery, but you made it yourself!
- Make-Ahead Friendly – Actually tastes better the next day, so that you can prep stress-free
- Customizable – Easy to dress up with toppings or keep it elegantly simple
- Crowd-Pleaser – Even people who claim they don’t like cheesecake will ask for seconds
Essential Ingredients for Baked White Chocolate Cheesecake Recipe
For the Crust:
- 2 cups (200g) graham cracker crumbs (about 14-16 crackers)
- ⅓ cup (65g) granulated sugar
- ½ cup (115g) unsalted butter, melted
For the Filling:
- 8 oz (225g) white chocolate chips or chopped white chocolate
- 32 oz (900g) cream cheese, softened (four 8-oz blocks)
- 1 cup (200g) granulated sugar
- ¼ cup (30g) all-purpose flour
- 4 large eggs, room temperature
- 1 cup (240ml) sour cream, room temperature
- 2 teaspoons vanilla extract
- ¼ teaspoon salt
Optional Toppings:
- White chocolate shavings
- Fresh berries
- Whipped cream
- White chocolate ganache
Important Kitchen Essentials
You’ll want these tools to make your baking journey smooth:
- 9-inch springform pan – The hero that makes removal easy
- Aluminum foil – For wrapping the pan (keeps water out during the water bath)
- Large roasting pan – For your water bath setup
- Electric mixer – Stand or hand mixer works great
- Microwave-safe bowl – For melting your white chocolate
- Rubber spatula – For scraping down the bowl and getting every bit of batter
- Cooling rack – Essential for the cooling process
Instructions for Baked White Chocolate Cheesecake Recipe
Step 1: Prep Your Pan

Preheat your oven to 325°F (163°C). Wrap the outside of your 9-inch springform pan with two layers of heavy-duty aluminum foil, going all the way up the sides. This prevents water from seeping in during the water bath. Trust me, soggy cheesecake is nobody’s friend!
Step 2: Make the Crust

In a medium bowl, combine graham cracker crumbs, sugar, and melted butter. Mix until the texture resembles wet sand. Press this mixture firmly into the bottom of your prepared pan.
Pro tip: Use the bottom of a measuring cup to pack it down evenly. Bake for 10 minutes, then remove and let it cool while you make the filling.
Step 3: Melt the White Chocolate

Place your white chocolate in a microwave-safe bowl. Microwave in 30-second intervals, stirring between each one, until the mixture is completely smooth and melted.
This usually takes about 90 seconds total. Don’t rush this—white chocolate burns easily! Let it cool for 5 minutes.
Step 4: Beat the Cream Cheese

In a large bowl, beat the softened cream cheese with an electric mixer on medium speed for about 2-3 minutes, until it is smooth and fluffy. You want zero lumps here. Scrape down the sides of the bowl frequently to prevent sticking.
Step 5: Add Sugar and Flour
Add the sugar and flour to the cream cheese. Beat on low speed until just combined, about 1 minute. The flour helps stabilize your cheesecake, preventing it from cracking.
Step 6: Incorporate the Eggs
Add eggs one at a time, beating on low speed after each addition until just combined. Important: Don’t overmix once you add eggs, or you’ll incorporate too much air (which causes cracks).
Each egg should take about 15-20 seconds to incorporate.
Step 7: Add the Good Stuff

Pour in the cooled melted white chocolate, sour cream, vanilla extract, and salt. Beat on low speed until everything is beautifully combined and smooth, about 30 seconds. Please give it a final stir with a spatula to make sure nothing’s hiding at the bottom.
Step 8: Pour and Prep for Baking

Pour the filling over your cooled crust. Gently tap the pan on the counter a few times to release any air bubbles that may have formed. Place the wrapped springform pan inside a large roasting pan.
Step 9: Create the Water Bath

Place the roasting pan (with your cheesecake inside) on the oven rack. Carefully pour hot water into the roasting pan until it reaches about halfway up the sides of the springform pan.
This water bath creates a humid environment that prevents cracks and ensures even cooking.
Step 10: Bake
Bake for 60-70 minutes. The cheesecake is done when the edges are set, but the center still has a slight jiggle (about a 2-inch circle in the middle should wobble like jello when you gently shake the pan).
Don’t overbake! The center should register about 150°F (65°C) on an instant-read thermometer.
Step 11: Cool Gradually
Turn off the oven and crack the door open about 1 inch. Let the cheesecake sit in the oven for 1 hour. This gradual cooling prevents sudden temperature changes that cause cracking.
Step 12: Cool and Chill

Remove the cheesecake from the water bath and remove the foil. Run a thin knife around the edges to loosen it from the pan (this prevents cracking as it cools further).
Let it cool completely on a wire rack for about 2-3 hours. Cover and refrigerate for at least 4 hours, but overnight is best. This is when the flavors develop, and the texture becomes perfect.
Step 13: Serve
Remove the sides of the springform pan. Slice with a hot, clean knife (dip it in hot water and wipe it clean between each cut). Top with your favorite toppings and enjoy!
Additional Tips for Baked White Chocolate Cheesecake
Room Temperature is Key – Take your cream cheese, eggs, and sour cream out of the fridge 1-2 hours before baking. Cold ingredients create lumps and don’t blend smoothly.
Choose Quality White Chocolate – Opt for high-quality white chocolate that features cocoa butter as its primary ingredient. Avoid “white chips” or “vanilla candy coating” for the best flavor.
Don’t Overmix – Once you add the eggs, mix on low speed and only until combined. Overmixing incorporates air bubbles, which can lead to cracks.
The Jiggle Test – Your cheesecake should still jiggle in the center when done. It will firm up as it cools. Overbaking creates a dry, cracked cheesecake.
Water Bath is Non-Negotiable – Yes, it’s an extra step, but it prevents cracks and ensures that creamy texture. The steam keeps everything moist.
Patience with Cooling – Don’t rush the cooling process. Sudden temperature changes = cracks. Let it cool gradually in the oven, then on the counter, then in the fridge.
Make-Ahead – This cheesecake actually tastes better after 24 hours in the refrigerator. The flavors meld, and the texture becomes even creamier.
Slicing Cleanly – For picture-perfect slices, use a sharp knife that has been dipped in hot water and wiped clean between each cut.
Variations
1. White Chocolate Raspberry Cheesecake
Add ½ cup of raspberry puree (made from fresh or frozen raspberries) to the filling before baking. Use a knife to create pretty swirls. Top with fresh raspberries before serving.
2. White Chocolate Oreo Cheesecake
Replace graham crackers with crushed Oreos (including the cream) for the crust. Fold ½ cup of chopped Oreos into the filling. Top with more Oreo pieces and a drizzle of chocolate ganache.
3. White Chocolate Lemon Cheesecake
Add two tablespoons of fresh lemon zest and two tablespoons of lemon juice to the filling. The citrus cuts through the richness beautifully. Top with lemon curd and candied lemon slices.
4. White Chocolate Peppermint Cheesecake
Replace vanilla extract with peppermint extract (use only one teaspoon, as it’s strong). Fold in ½ cup of crushed peppermint candies. Top with whipped cream and more crushed peppermint. Perfect for the holidays!
5. Salted Caramel White Chocolate Cheesecake
Drizzle salted caramel sauce over the crust before adding the filling. After baking, top with more salted caramel and a sprinkle of flaky sea salt. Sweet and salty perfection!
6. White Chocolate Macadamia Nut Cheesecake
Fold ½ cup of chopped macadamia nuts into the filling. Replace half the graham crackers in the crust with crushed macadamia nuts. Top with toasted macadamia nuts and white chocolate drizzle.
Precautions for Baked White Chocolate Cheesecake
Avoid Overbeating After Adding Eggs – This is the number one cause of cracked cheesecakes. Mix on low speed and stop as soon as the eggs are incorporated.
Watch Your White Chocolate – White chocolate burns very easily when melting. Use 30-second intervals and stir constantly. If it seizes up (becomes grainy), it’s ruined, and you’ll need to start over.
Ensure Proper Foil Wrapping – If water leaks into your springform pan, your crust will be soggy. Use two layers of heavy-duty foil, ensuring it extends all the way up the sides.
Don’t Open the Oven Door – Opening the door during baking causes temperature fluctuations that lead to cracks. Trust the process and only check after the minimum baking time has elapsed.
Check for Doneness Carefully – The center should still jiggle slightly. If it’s substantial, you’ve overbaked it. Remember, it continues cooking as it cools.
Allow Full Cooling Time – Cutting into a warm cheesecake results in a messy, runny disaster. Be patient and let it chill overnight for the best results.
Store Properly – Always keep cheesecake covered in the refrigerator. It will last 5-7 days when properly stored.
Nutrition Facts
Per serving (1 slice, based on 12 servings):
| Nutrient | Amount |
| Calories | 485 kcal |
| Total Fat | 35g |
| Saturated Fat | 21g |
| Trans Fat | 0g |
| Cholesterol | 145mg |
| Sodium | 320mg |
| Total Carbohydrates | 38g |
| Dietary Fiber | 0g |
| Sugars | 31g |
| Protein | 8g |
| Calcium | 12% DV |
| Iron | 6% DV |
Note: Nutritional information is estimated and may vary based on specific ingredients used.
Conclusion
This baked white chocolate cheesecake is everything a dessert should be: rich, creamy, elegant, and absolutely delicious. Yes, it takes some time, but most of that is hands-off cooling and chilling. The actual work? Totally manageable, even if you’re not a professional baker.
The beauty of this recipe is its versatility. Please keep it simple for a classic presentation, or dress it up with one of the variations for something extra special. Either way, you’re going to wow everyone who takes a bite.
So grab your springform pan, high-quality white chocolate, and let’s create some cheesecake magic. Your future self (and your guests) will thank you!
Frequently Asked Questions
Why did my cheesecake crack?
Cracks usually occur due to three factors: overmixing after adding eggs (which incorporates too much air), overbaking (the center should still jiggle slightly), or cooling too quickly (always use the gradual oven cooling method). The water bath also helps prevent cracks by maintaining even, humid heat.
Can I make this cheesecake without a water bath?
You technically can, but you’ll likely get cracks and a drier texture. The water bath creates gentle, even heat and steam that keeps your cheesecake moist and crack-free. It’s worth the extra step! If you absolutely can’t do a water bath, place a pan of hot water on the rack below your cheesecake.
How do I know when my cheesecake is done?
Your cheesecake is ready when the edges are set and puffed slightly, but the center (about a 2-inch circle) still jiggles like jello when you gently shake the pan. An instant-read thermometer should read 150°F (65°C) in the center of the meat. It will continue to cook and firm up as it cools.
Can I freeze baked white chocolate cheesecake?
Absolutely! This cheesecake freezes beautifully for up to 2 months. Let it cool completely, then wrap it tightly in plastic wrap and aluminum foil before placing it in the freezer. Thaw overnight in the refrigerator before serving. The texture stays perfectly creamy!
Why is my white chocolate seizing or becoming grainy?
White chocolate is temperamental! It seizes when it overheats or when it comes in contact with even a tiny bit of water. Always melt it slowly in 30-second intervals, stirring between each one. Make sure your bowl and spatula are completely dry. If it does seize, unfortunately, you’ll need to start over with fresh chocolate.
Do I need to use a springform pan?
Yes, a springform pan is essential for this recipe. The removable sides make it easy to release the delicate cheesecake without damaging it. A regular cake pan would require flipping the cheesecake out, which would destroy that beautiful surface.


ya amazing and creative recipes to view
The recipe related to cheese cake is informative and authentic. I liked it very much.